1880(ish) Household Sewing Machine With Rare Rolling Top Cabinet
on
Get link
Facebook
X
Pinterest
Email
Other Apps
***Update (7/7/2025) - I've received multiple requests to demonstrate how the rolltop works on this cabinet so I created a video.
***Update (7/6/2025)*** - See below for updates on completed work on this cabinet/machine.
3/31/2025 - About a month ago, someone on a Facebook sewing machine group had stated that a freind of theirs was looking to sell a sewing machine. They only posted one picture of the machine. First thing that was noticable was that it was a mother of pearl machine. I quickly PM'd the person on Facebook expressing my interest. Even though it was a MOP machine there was something else that caught my eye....the cabinet. I noticed the appearance of wood slats to the left of the needle bar. In the late 1870's/early 1880's, Household produced "rolling top" cabinet (see the picture from a Household manual below). I've only ever seen one of these cabinets so I knew it was rare. (Note: as of 7/6/2025, I've now seen 4 of these cabinets including mine) After a quick call to the owner of the only other one cabinet that I had seen, they confirm that indeed it was a rolltop cabinet. This of course made even more interested in adding it to my collection. The person did respond to me letting me know that she would let me know when the family with the machine was ready to sell. At this point I though "I'll never hear back from them". Over a week went by with no word. Then I recieved a message that the family was ready to sell and I was provided the email address of the the person to contact. I quickly emailed them and gave them my phone number. We had a nice conversation which led to negotiating a price and setting up a pick up time/date. The machine was located in near Albany, NY so my wife and I planned a trip up to pick up the machine.
Dating this machine is a little bit of a guessing game. There is no serial number list that I'm aware of that helps you date the machine. My serial number is 83406. The last patent date on the back slide plate is 1879. Based on that, we can determine that the machine is not older than 1879. The other Household MOP machine in this cabinet (that I know of) has 1882 as the last patent date on it's slide plate. So we can now determine that my machine was made sometime between 1879 and 1882. Given the serial number difference between the two machines (approx. 70,000), I'm guessing that my machine was produced around 1880.....maybe 1879.
The pictures below were provided to me from the seller.
It appears that the cabinet has been revarnished with some redish/brown color. The one other cabinet that I know of was a lighter brown color and you can actually see the original lighter brown finish in spots on the top where the redish color has worn off. You can also see the original finish inside the cabinet.
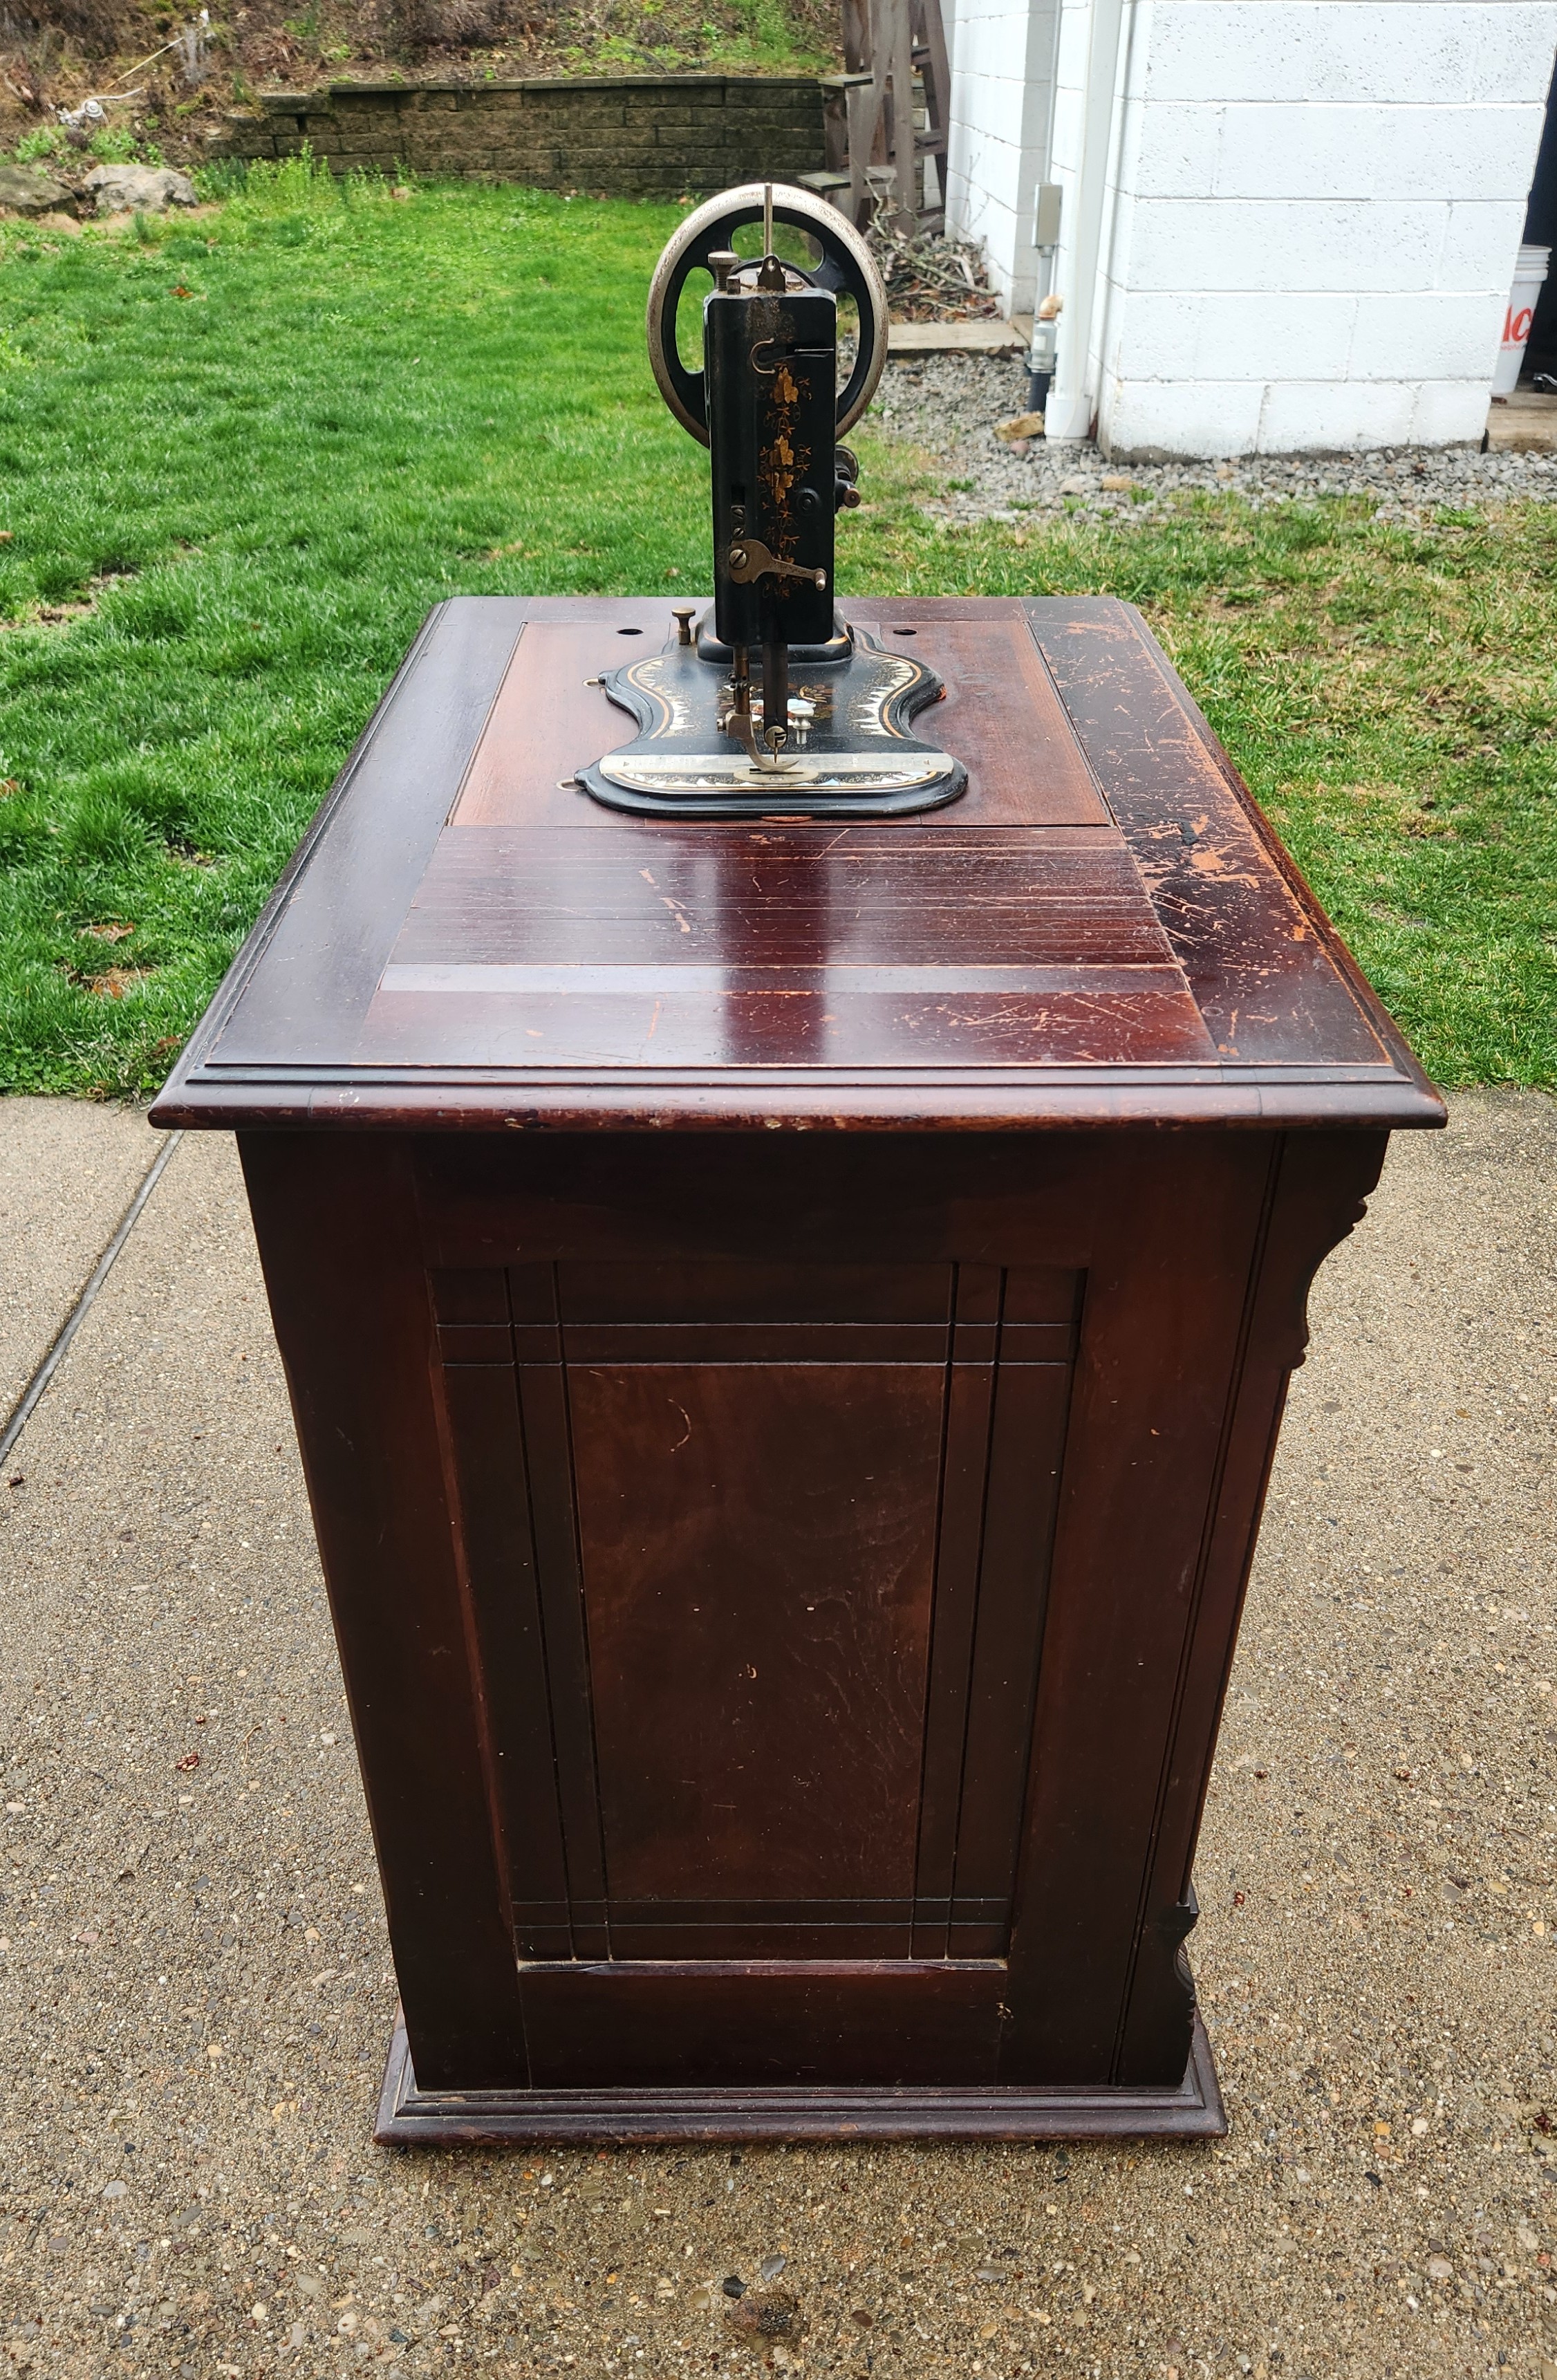
Quickly, I will try to explain how the rolltop works. The top drawer works as a lock for the rolltop. First, you pull the top drawer out partially. This allows the deck that the machine sits on and the rolltop slats to slide to the left. Once the deck that machine sits on (which is hinged on the back of the deck) clears the treadle wheel/pitman arm the machine (still attached to the deck) can be tilted down into the cabinet. With the machine/deck now down in the cabinet, you can slide the rolltop slats to the right covering the entire opening where the machine/deck once was (see last 2 pics below). Once the rolltop is in place the top drawer can be pushed back in. Pretty cool!!!
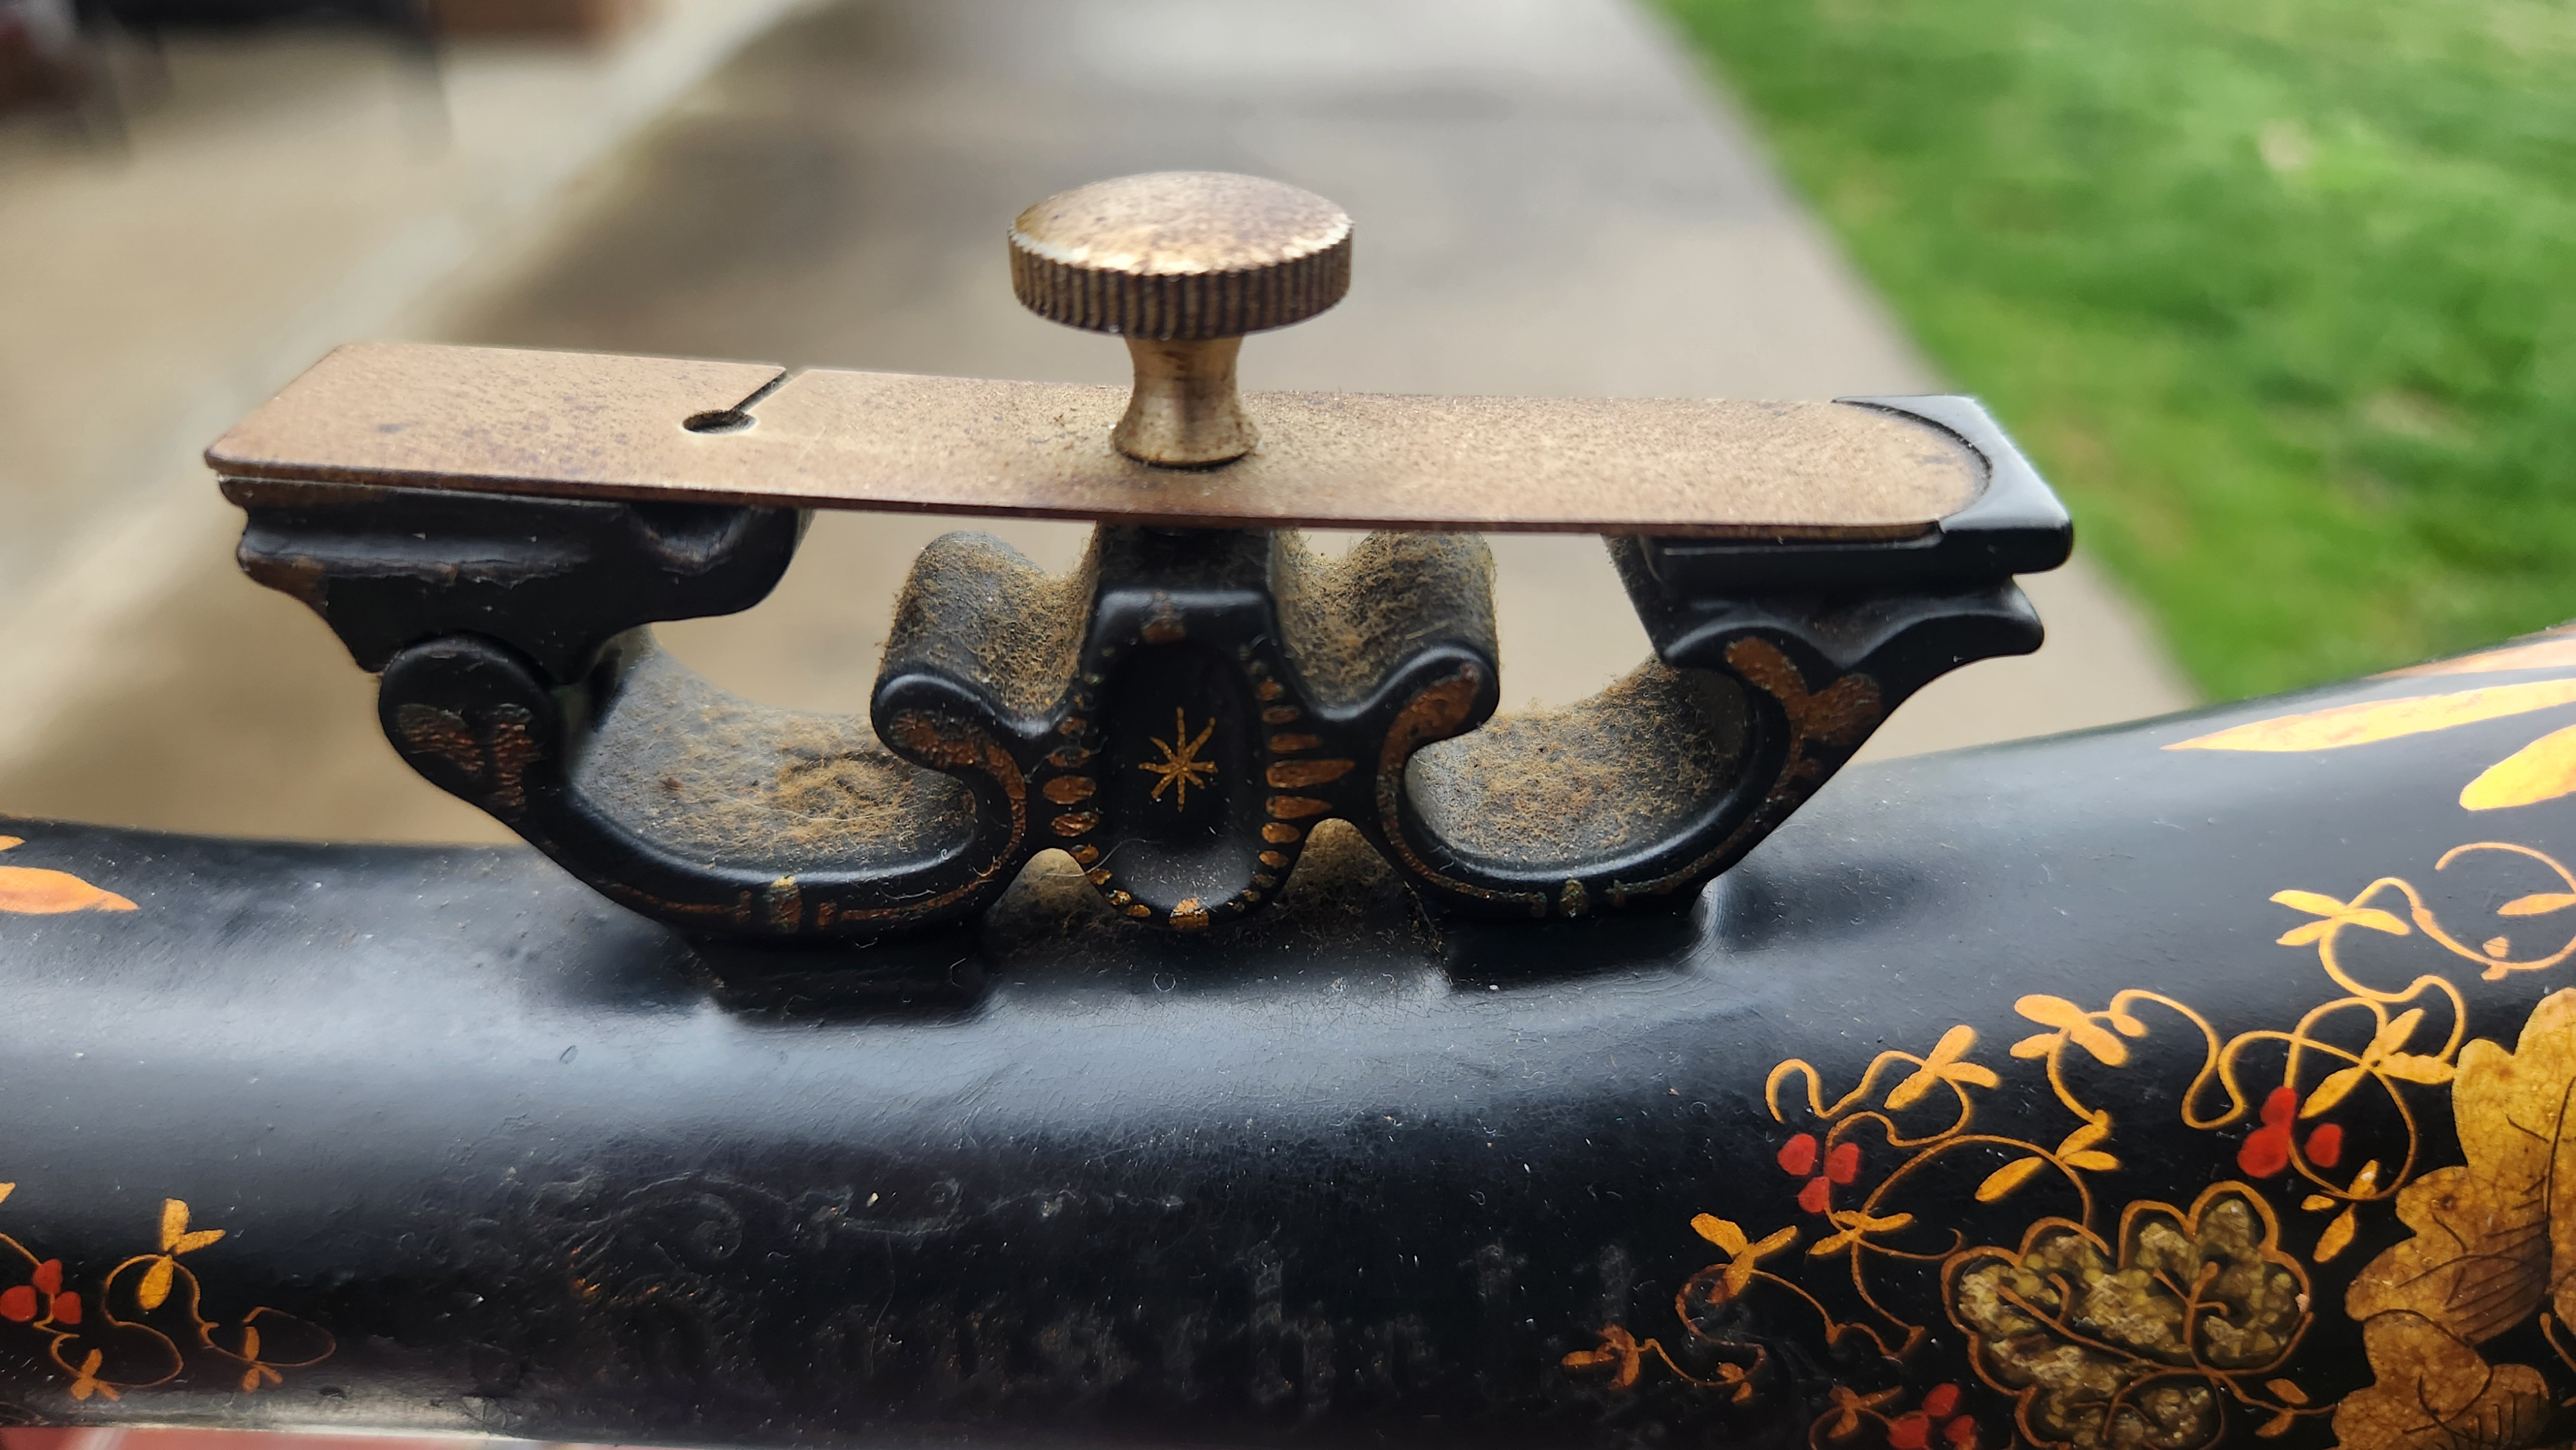
Below are pictures that I took this morning. I took a lot of pictures but I took them fast as I was dodging the rain (as you can see the ground is wet in the pictures). I didn't clean anything before taking these pictures as I like to document the machine the way I get it so I can then show the before and after of my cleaning efforts. As you can see, the machine decoration is in good shape except for a missing mother of pearl flower. It should clean up really well.
Enjoy! I'll update this post as I make progress on cleaning the machine/cabinet.
Update (7/6/2025): I've completed the refinishing of the cabinet and refurbishing of the machine. I decided to refinish the cabinet as someone had previously refnished it and it wasn't done very well. The machine was in good condition and just needed a good cleaning and polishing of the metal parts.
The exterior of the cabinet had been refinished by the previous owners with some mahogany lacquer type of product. You can see in the picture above how the mahogany product had been worn off in places revealing the original finish. I stripped the finish off of the exterior of the cabinet (no sanding was done). This was quite a tedious task given all of the decorative lines in the cabinet. Each line had to be cleaned and the old finish removed.....which took forever! Once the exterior of the cabinet was stripped, I cleared the cabinet with a sealing coat. The one exterior part of the cabinet that hasn't been refinished is the platform that the machine sits on. I didn't refinish this part as it hadn't been refinished by the previous owners. Also, the platform has the remnants of the "Household" logo. I've contemplated redoing the logo, but I haven't figured out a good way to reproduct and apply it(yet).....so for now, I'm leaving it original. I did clean the machine platform but did not refnished it. Another benefit of not refinish the platform is it gives me a color reference point for refinishing the rest of the cabinet (the interior also gives me this reference). After sealing the exterior, I used toners to color the exterior to match the platform and interior). Then, a top coat was applied to the exterior. Great care had to be taken in trying to match the sheen of the platform to the rest of the cabinet. I had first tried a semi-gloss but found that a gloss sheen best matched the platform.
Most of the inside of the cabinet has not been refinished. The floor of the cabinet was extremely dirty. I cleaned the floor and then refinished the floor but that is the only part of the inside of the cabinet that has been refinished. See pic below of the floor before and after cleaning.
One challenging part of cleaning up this cabinet was making sure that the rolltop operated easily. Given that the previous owners refinished the cabinet, the mahogany finish they used was in places that it shouldn't be therefore gumming up the tracks of the rolltop. This was really bad in between the slats of the rolltop. To fix this I had to remove the rolltop from the cabinet and clean of old finish out from in between the slats. See pics below. The first three pictures are of the drawer frame removal from the cabinet (note the track for the rolltop). The last picture is of the old finish in between the slats. The sides of each slat had to be cleaned with q-tips and lacquer thinner.....talk about tedious! After cleaning the track was waxed to help promote smooth sliding of the rolltop. This obviously was a lot of work but it was worth as the rolltop now slides very easily.
One other challenge in making the rolltop slide easily was rebuilding the platform. One thing about these cabinets is that when you slide the rolltop and platform to the right with the weight of the machine on the platform, once it gets to the point that the plaform should drop it will drop violently if your not holding onto it. Well, the previous owners must have experienced this several times because it was apparent that the platform had come appart and had been rebuilt. When they rebuilt it they didn't build so it was flat....so it wasn't sliding easily in the track due to friction. So, you guessed it, I rebuilt the platform! The previous owners didn't use glue to rebuilt it, they just put flat bar on the bottom of the plaform that was holding it all together. I took it all apart and reglued it back together ensuring that it was flat, then I reapplied their flat bar reinforcements strengthen everything. Below are pics of that process.
I have to say that this was one of the most challenging and frustrating projects I've taken on. Parts of the project were very tedious and took a long time to complete. Color and sheen matching was particularly challenging/frustrating as it took me a long time to get it close enough to make me happy (Im my own worst critic when it comes to this stuff). The color matching was particularly difficult because there were so many different pieces of wood all being naturally colored differently. Also, the direction of the grain and how the light hits the grain drastically changes the color of the wood. Ulitmately, all of the work and frustration was worth it as I'm extremely happy with the way it turned out. The only thing left I might try to do is shape a piece of mother of pearl to replace the piece that's missing.
I went kind of crazy with final pictures. I've recieved feedback that the pictures are what people most enjoy about my blog. Also, I like trying to show as much detail of the machine/cabinet that I can. Hope you all enjoy!!


Interesting how the roll top works. I've never seen anything like that before. Great find!
ReplyDeleteThanks! I'm not sure how practical it is......but it's pretty cool!
DeleteShe's beautiful, I've never seen one before, thank you for sharing.
ReplyDeleteThank you!
Delete